In out last post, we covered some terminology and tips on taking photos in water. In this article, we’ll cover camera settings.
Using Preset Shooting Modes Underwater
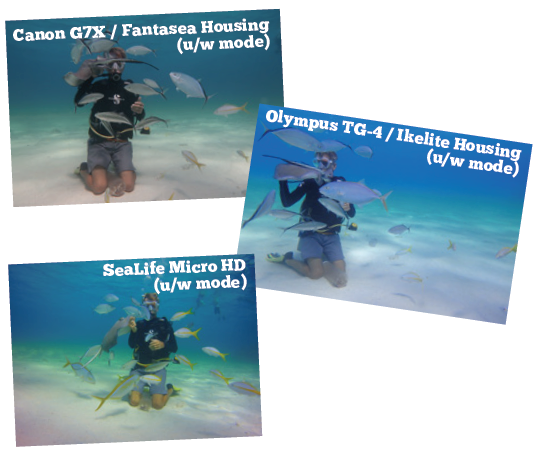
Mode Settings create a combination of adjustments that are pre-designed for specific conditions. Some of the cameras we used had underwater mode settings. If the camera you select has these, the are well worth experimenting with and using. Of course, there is always the issue of selecting and using the proper setting. Many times we forget what setting is active, which can actually make the image worse.
Another mode that is frequently used is Cloudy Mode. When using “cloudy” you are tricking the camera. On a cloudy day, sunlight is absorbed by the clouds much like it is absorbed by the water. The colors come out bluer and cooler because the clouds filter out the reds and oranges of the sunlight. The “cloudy” setting adds reds and oranges back into the pkhoto, which is exactly what we also want to do underwater.Another mode that is frequently used is Cloudy Mode. When using “cloudy” you are tricking the camera. On a cloudy day, sunlight is absorbed by the clouds much like it is absorbed by the water. The colors come out bluer and cooler because the clouds filter out the reds and oranges of the sunlight. The “cloudy” setting adds reds and oranges back into the photo, which is exactly what we also want to do underwater.
Manual Settings Underwater
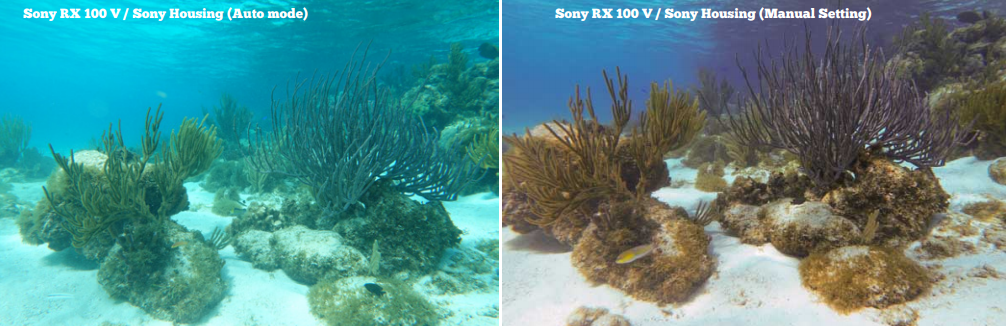
In addition to preset Shooting Modes, In addition to preset Shooting Modes, some cameras provide manual adjustments, such as Manual White Balance, to improve photos:
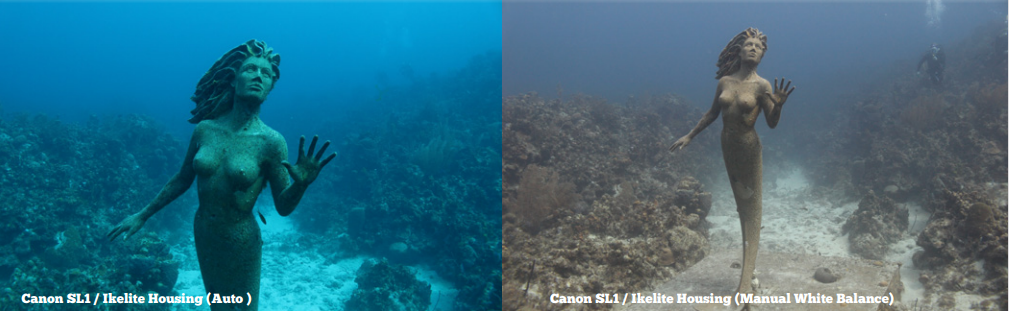
Manual mode allows the shooter to adjust ISO, F-Stop and shutter speed. In “auto” mode, the camera may over-expose the shots because it misinterprets water density for darkness. You can use the manual mode to force the camera to darken the shot using those settings.Manual mode allows the shooter to adjust ISO, F-Stop and shutter speed. In “auto” mode, the camera may over-expose the shots because it misinterprets water density for darkness. You can use the manual mode to force the camera to darken the shot using those settings.
There are several ways to deal with overexposure and loss of color:
- Lower ISO / higher number F-Stop / faster shutter speed
- Adjusting camera mode
- Use of external filters (also some cameras have built in snorkel/dive filters or modes)
- Photo editing software
Using Mode and Manual Settings
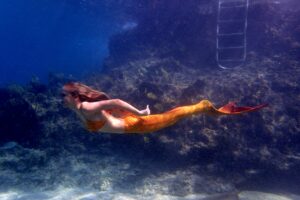
We mentioned earlier that at different depths, light is filtered by the water — losing warm colors first — and other colors as you go deeper. These Stingray City photos provide a good example of snorkel depth photos with underwater settings or filters.We mentioned earlier that at different depths, light is filtered by the water — losing warm colors first — and other colors as you go deeper. These Stingray City photos provide a good example of snorkel depth photos with underwater settings or filters.
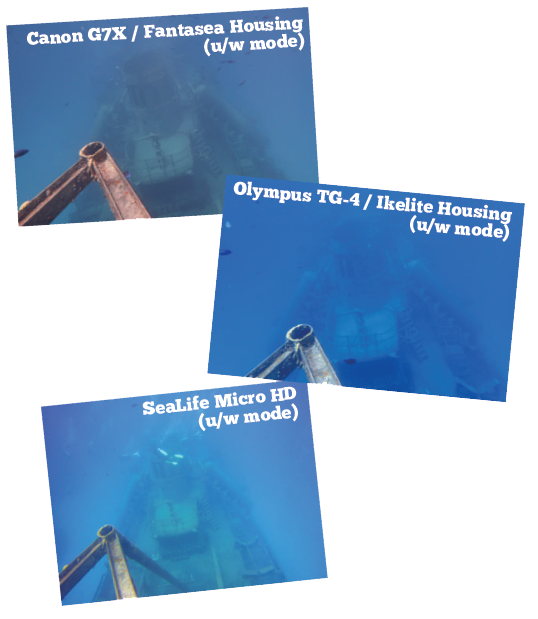 By comparison, these Kittiwake photos were taken shooting down into SCUBA depth water with the same cameras. By comparison, these Kittiwake photos were taken shooting down into SCUBA depth water with the same cameras. Also note, that the camera is adjusting for the foreground metal structure that is better lit in the bottom left and the deeper/further/less lit wreck. This will confuse and affect the automatic mode adjustment and the captured image.
For more information, view/download the complete Article